 The smell of fresh bread ranks up there with bacon and coffee as the most pleasant odors one can experience first thing in the morning.
For this reason, especially during our recent pandemic, many have sought comfort in their kitchen and decided that they want to start making bread.
However, the thought of making bread can cause an anxiety attack as you can get lost in a world of rye, sourdough, and other variants if you do a quick google search.
However basic bread making is simple, so let us tell all you need to know as a beginner.
Basic Bread Making Principles
Making bread from scratch involves 3 important main ingredients. Flour, yeast, and water.
Flour, the main ingredient, provides that all-important structure and texture. It also contains gluten which when kneaded, gets stronger, trapping the gases the yeast creates.
Yeast is what creates the magic and mystery. This leavening agent eats sugars and produces gases that make the bread rise.
Water makes up the triumvirate but is no less important. Yeast needs water to activate. The flour also needs it for the gluten to become flexible.
The process is simple and again can be broken down into 4 simple steps, mixing, kneading, proofing, and baking.
Whilst the others are common knowledge, proofing is where the magic happens.
This is when you leave the bread to rest and allow for the yeast to do its work. At home, all you will need is a damp dishcloth however a holding and proofing cabinet creates the perfect humid environment needed for professionals as the smallest changes in temperature can affect the final product.
There, we told you it was simple!
To put this to the test here is a basic recipe for you to try at home.
Simple & Easy Bread Recipe
Ingredients
1 tablespoon salt
1 tablespoon sugar
1 tablespoon active dry yeast
2 cups warm water
5 1/2 to 6 cups All-Purpose Flour
Mixing Stage: Mix the yeast, sugar, salt, and water in a bowl. You will know that it is ready when bubbles start to appear in the water, taking approximately 5 mins.
Next, create a mound of flour on your counter-top and work a well-like gap at the bottom. You will need to slowly add your water into the hole and using a fork, mix the surrounding flour into the water.
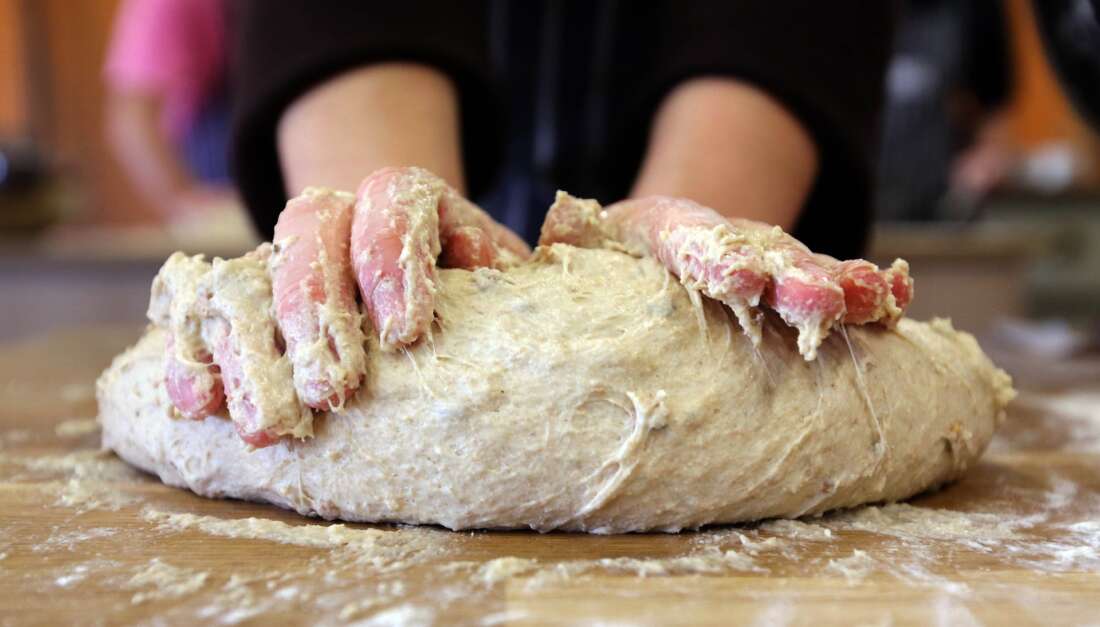
Kneading: The dough will start to come together and when unable to continue with your fork this when the fun begins, kneading! Get in there with your hands continuing to stretch and fold your dough using the heel of your palms.
It is good to lightly sprinkle your worktop with flour to prevent the mixture from sticking. It should take about 7-9 mins to reach a smooth elastic consistency dough.
Proofing: Drizzle your bowl with some oil and place the dough inside. Cover with saran wrap and leave for 2 hours when it should have doubled in size.
Afterward, take out the dough and split it in half. You will now need to punch down which is basically kneading the dough again with the purpose of removing air bubbles.
After molding them into a ball, place them into baking containers, and then cover them with a damp dishtowel for second proofing. This time it should be left for 1-1 1/2 hrs. Don’t forget to preheat your oven now!.
Baking: After resting they should have doubled in size and are now ready to be placed in the oven. Set your oven to 400°F and let it bake for 30-35 mins.
Let it rest for at least 30 mins and then there is nothing more for you to do but get stuck in!
Make a Start Today
As said at the beginning, bread making can seem daunting however basic bread making at its core is very simple.
Over time and as you gain confidence, you will be able to branch out into even more challenging recipes however at the beginning keep it simple. The most important thing is to make a start and enjoy it!
If you found this useful don’t hesitate to share and be sure to check out or other food-related content on this site!